-
Shop
- Paint Colours
- Original Artisan Range
- The Lazy Range
- Al Fresco Inside/Outside Range
- Chalk Wall Paint
- Chalk Wall Paint Samples
- Trim Paint
- Metallics
- Easy Crackle
- Frenshimmer
- Frensheen
- Brushes
- Sealants, Top Coats, Waxes
- Sugar Soap
- Stencils
- Accessories
- Frenchic Apparel & Bags
- Colour Charts
- Gift Cards
- Product Range
-
- Browse by Colour
- Paint Colours
-
Projects
- Interior
- Ceramic Tiles
- Furniture
- Interior Doors
- Kitchen Cupboards
- Nursery Furniture
- Radiators
- Skirting Boards
- Wooden Floors
- Wall Paint
- Exterior
- uPVC Doors
- uPVC Windows
- Cladding
- Decking
- Exterior Doors
- Fascia Boards
- Fencing
- Garage Doors
- Garden Furniture
- Garden Shed
- Rooms
- Bathroom
- Bedroom
- Dining Room
- Hallway
- Home Office
- Kitchen
- Living Room
- Nursery
- Toilet
- Utility Room
- Finishes
- Matte
- Metallic
- Satin
- Weatherproof
- Washable
- Frenchic TV
- Samaritans
- Find A Stockist
- Become A Stockist
- Tips & Help
- Sign in


How to Paint 2 Sides of a Door & Frame with 2 Different Colours
How to Paint 2 Sides of a Door & Frame with 2 Different Colours
Gone are the days where doors had to be coated in white gloss. Nowadays, there is a vast array of shades to choose from, meaning if you want to, you can paint each side of your doors a different colour, depending on the décor in each room.
Maybe you want your door frame to match your wall’s colours. Or perhaps you want to create contrast in each room. Alternatively, you might want one side matching, with the other standing out.
Whatever your preference, you’ll need to know where to stop and start each colour. After all, everybody wants their door shades to look natural and fit in on both sides.
In this post, we’ll explain how you find the start and end point between two sides of a door, as well as providing some top tips for the best results when painting.
What you’ll need
- Sugar Soap
- Sandpaper
- Paintbrush
- Masking tape
- Paint (Craig uses Al Fresco paint)
- Paint sprayer (optional)
- Dust sheets
Checking the frame
Start by focusing on the frame. To figure out where to stop and start your different colours, you’ll need to check how the door closes against the frame.
The slab strip is the sweet spot when it comes to painting your door frame in two different colours. As Craig explains in the video, you can paint up to the outside edge of the slab in your external colour, or go a little further to the inside edge. Both work equally well, so it’s completely up to you.
Note: the internal side of the door is the direction the door swings when you open it.
What about the door?
Moving onto the door – you might worry that you need to create an exact line along the edge of your door. Thankfully, the reality is much easier.
It goes without saying that you’ll paint each side of the door in your colour of choice. Then, paint the opening edge in your internal colour and the hinge edge in your external colour.
Why? You’ll only see these edges when the door is open. In that case, the opening edge will mostly be visible from the internal side, while the hinge edge will be mostly visible from the external side. So, it’s simply a case of matching them up to the colours they’ll be seen next to.
Painting each side of your door a different colour
Preparation
Like with all woodwork, before you start painting, you will need to prep. Start by giving it a good clean down with sugar soap. Mix with warm water – around one part sugar soap with ten parts warm water is the ideal solution. Use that to scrub all the surfaces before rinsing off with warm water and allowing them to dry.
Masking
Masking tape helps you protect areas you aren’t painting and is especially important on the door frame, where the two colours will meet on the same surface. It’s also useful on:
- The opening edge of the door when painting the external surface
- The door’s internal surface when painting the hinge edge
Naturally, this depends on the order you use to paint the two sides of your door. In the video above, brand ambassador Craig Phillips is painting the external side of the door in Victory Lane, having already painted the internal side and frame using Wise Old Sage.
If you’re painting your internal side last, you’ll want to use masking tape on:
- The hinge edge of the door when painting the internal surface
- The door’s external surface when painting the opening edge
- And, of course, the edge around the area of the door frame you’re painting
Painting your frame
When you’re painting your door frame, Craig’s advice is to coat the area first then lightly feather the paint out with your brush. Do this straight away without applying any more or any less paint. It will help you spread the paint evenly and promote a smoother finish.
Always follow the grain of the wood, painting up and down for vertical sides (or side jambs) of the door frame and left to right for the top part (or head jamb). Remove the masking tape before you leave your paint to dry for 2 hours.
Painting your door
When painting your door, one of the biggest challenges to achieving a smooth finish can be panelling.
Craig’s advice is to apply paint across the small panels first, before moving onto the recessed areas. Press the brush tight into the corners and drag it across or down the width or length of the recess. Once you’ve got the paint on and it’s looking good, you can feather over as lightly as recommended for your door frame.
Next, move onto the main surface of the door around the panelling. When painting, make sure you follow the grain (whether it’s real or faux) and paint across the bars – up and down or left to right, following the nature and shape of the door.
Recoating
After the recommended drying time, your paint should be dry and ready for a second coat. You can use the same techniques as above and reapply masking tape for a sharp finish between colours.
With real wooden doors, it’s worth running your hand across the surface to check if it’s smooth. Often, the first coat of paint can penetrate the wood itself and draw the grain out a little bit. If it’s rough, simply give it a quick hand sand, before applying the second coat.
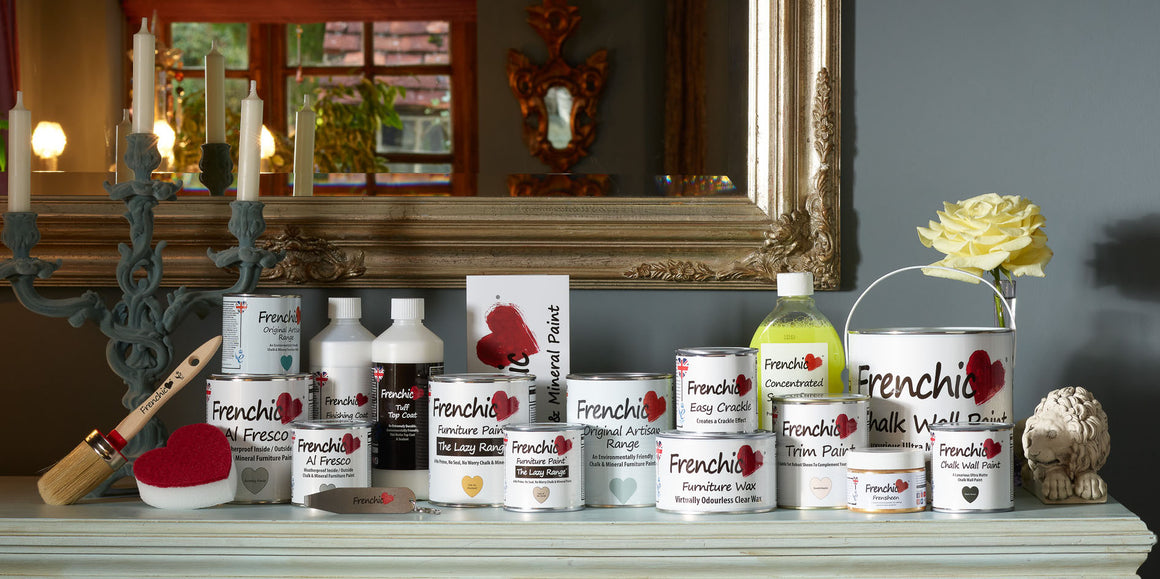
Choosing the right paint
Painting your door and frame two different colours is much easier than you might think. It can be made even simpler using our Lazy Range, Al Fresco or soft-satin Trim Paint range. They are all tough and hardwearing, making them the perfect choice for woodwork in and around your home. They’re also suitable for a range of surfaces, so you’ll be able to paint over hinges if required.
All Frenchic paints are self-priming so there’s no need for a primer or undercoat before getting started. Even better, they’re self-sealing for better durability and self-levelling for an effortlessly smooth finish. Choose from a wide range of colours to find your perfect match (or matches) then enjoy easy, low-odour application with minimal VOCs.


Featured In


Sign up to get emails on the latest sales, new releases and more …


Copyright © 2023 Frenchic Paint. All Rights Reserved. Registered Address: 1 Chamberlain Square Cs, Birmingham B3 3AX. Company No: 09025388
Creative Web Co